3D Printing
-
Please review the following Workshop on 3D printing
-
Read the Staff Printing guide here: https://docs.google.com/document/d/1WWErUqDHkZ28AamaiD-OEPgqqcGV4j3bq1SJS6cPkXA/edit#heading=h.qr0lyvmiwu70
-
Read the pamphlets on 3D printing at the DSC desk.
-
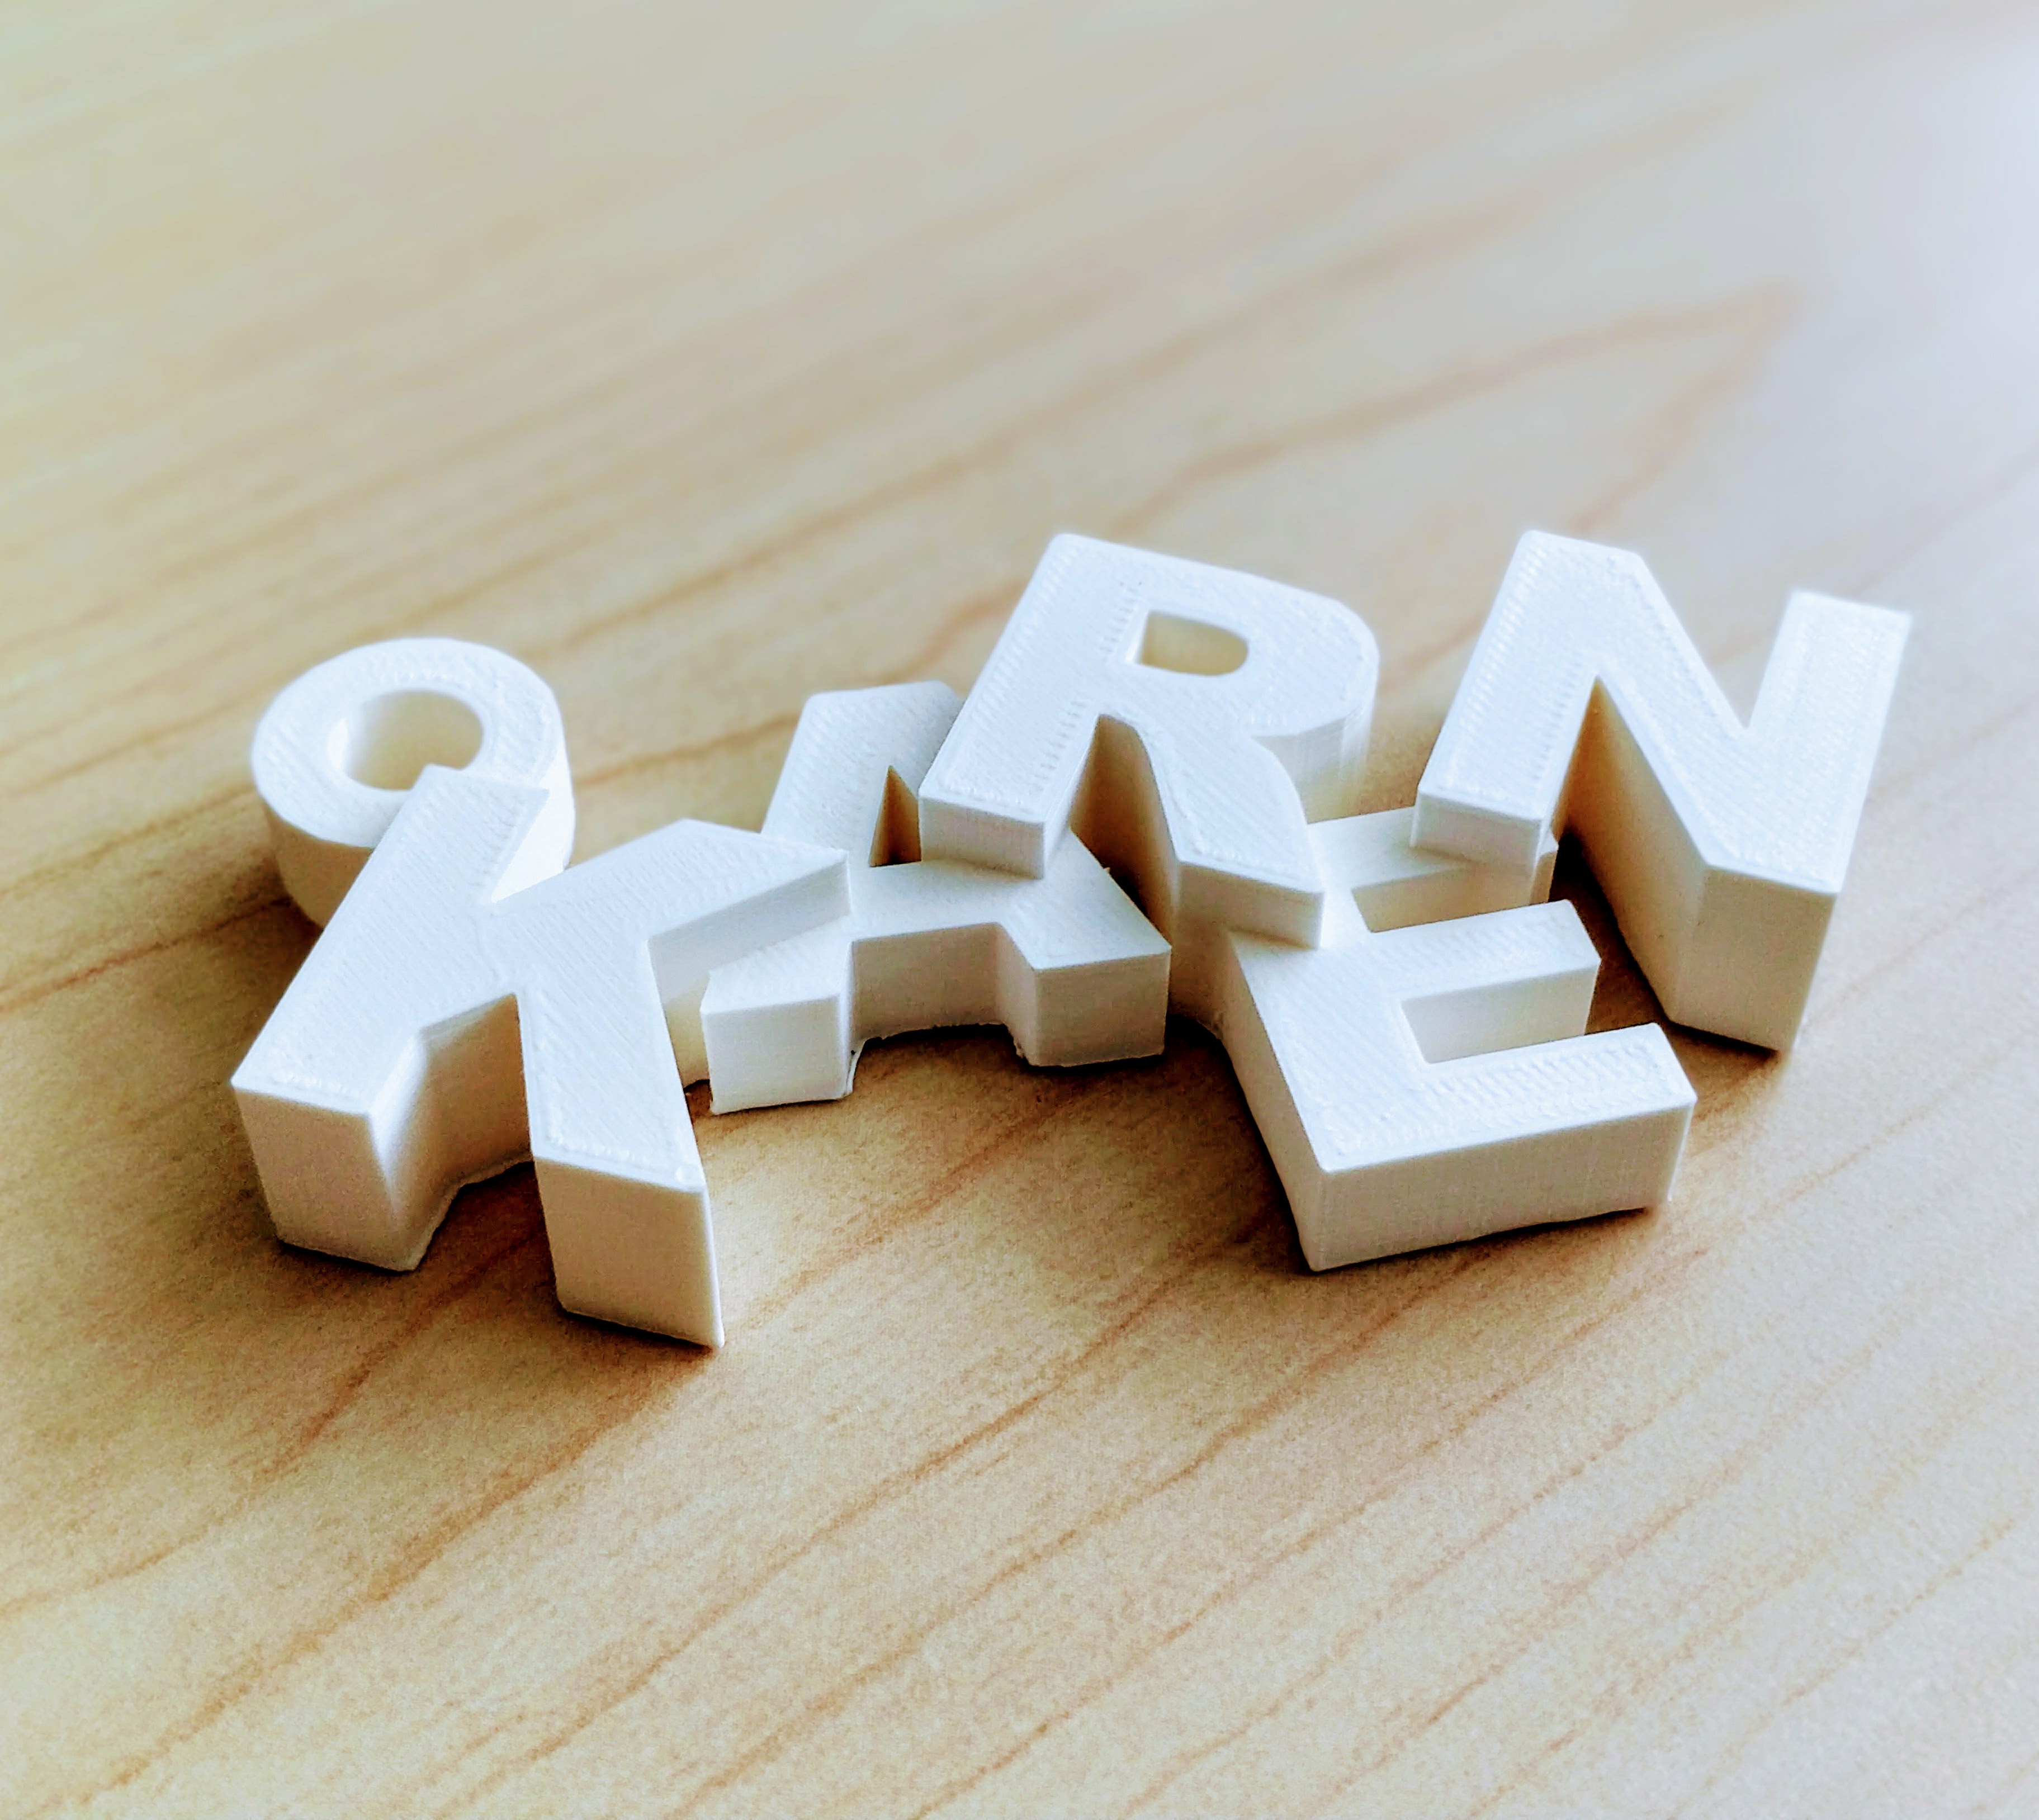
Browse some 3D prints on Makerworld and printables. Get familiar with the wide array of items and download one or two items you find interesting.

-
Make sure you can open and navigate Cura on the staff computer you work on. You should see 5 Ultimaker printers connected (Ada, Brunel, Claudia, Diana, and Escher), if you do not see all the printers, follow step 6, if all the printers are connected, skip to step 7.
-
First, click on Sign In in the upper right corner of Cura and log in using your Ultimaker account (choose “create a free Ultimaker account” if you don’t already have one). This will bump you over to a browser. Once you are logged in, you’ll want to switch over to Ulitmaker Digital Factory. Then, ask Dani to be added to the DSC group workspace. Your printers should now be automatically added to Cura. If you have any issues at this stage, please ask Dani for help.
- Open the files you downloaded and spend some time moving them around, changing the scale, and changing the print settings.
- If you need help using Ultimaker Cura, the official support page is here: https://support.makerbot.com/s/topic/0TO5b000000Q4wVGAS/using-ultimaker-cura
- Rotate pieces to position them at the optimal orientation!
- Google is also a great tool!
- Open and get familiar with BambuStudio software. BambuStudio is the slicing software used with Franziska, our Bambu printer. The interface is fairly similar to Cura’s, but taking some time to get familiar with it will be a benefit. It has a variety of options than are not in Cura, such as the ability to ‘paint’ supports onto the model. We have a shared login, so no need to set up your own for this one. Just ask for the login and password to set this up.
Note We also have a Makerbot printer. It is semi-retired, and is typically only used for demonstrations at tabling events.
- Practical training:
- practise sending a file to 3D print
- practise changing the filament in the printers
- practise removing a completed print from the printbed
- practise swapping out the glass printbed
- practise labeling and dropping off a completed print
- optional: practise removing supports from a print
- optional: practise Hot & Cold pulls